
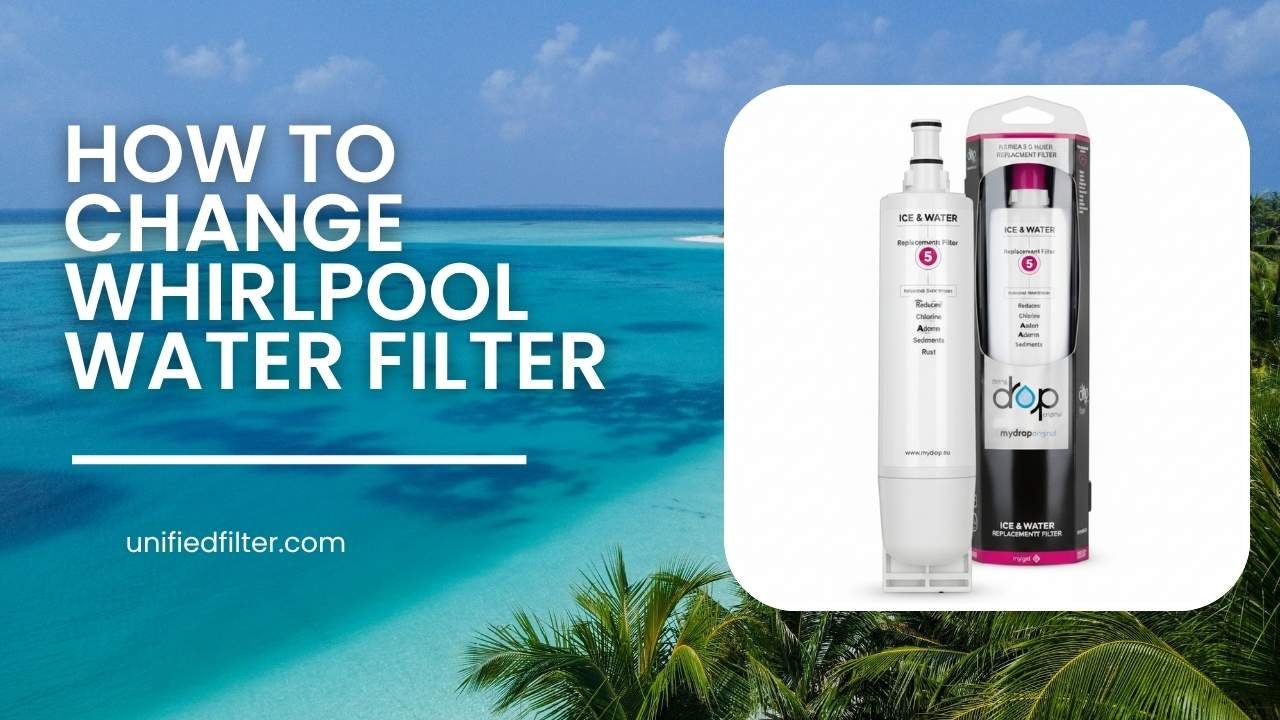
How to Change a Whirlpool Refrigerator Water Filter, Housing by Housing

Changing a Whirlpool refrigerator water filter is a five-minute, tool-free job — once you know which of the four housing styles your fridge uses. Whirlpool fits its EveryDrop cartridges four different ways across its model range, and the removal motion is different for each: a quarter-turn at the base grille, a push-button release in the upper-right corner, a twist-in inside the compartment, or a twist-and-lock for Filter A. This walkthrough covers each housing in turn, with the flush amounts, the reset step, and the fixes for the problems people actually hit. For the brand-neutral version of the same job, see our universal refrigerator water filter replacement walkthrough; for the map of which filter fits which Whirlpool, see the Whirlpool refrigerator water filter guide.
First: Which Housing Do You Have?
| Where the cartridge lives | Filter | How it comes out |
|---|---|---|
| Base grille, bottom front, with a reusable cap | Filter 3 — EDR3RXD1 | Push-button release, cap transfers to the new cartridge |
| Base grille or interior, manual says UKF8001 | Filter 4 — EDR4RXD1 | Quarter-turn / seat-and-turn, per model |
| Upper-right interior compartment | Filter 2 — EDR2RXD1 | Push-button release |
| Interior twist-in housing | Filter 1 — EDR1RXD1 or Filter 5 | Push in until it clicks / twist to seat |
| Twist-and-lock housing, cartridge labelled Filter A | Filter A — EDRARXD1 | Twist to release, twist to lock |
If you are not sure, pull the old cartridge first and read its label — the label is always the final authority, and every section below starts with the old filter coming out anyway. Two universal rules before the housing-specific steps: you do not need to turn off the water supply for an EveryDrop change (a towel for drips is enough), and every change ends the same way — flush, then reset the indicator.
Base Grille: Quarter-Turn and Cap Styles (Filters 3 and 4)
On base-grille models the housing sits behind the grille at the very bottom front of the fridge, reached from the floor.
Filter 3 (push-button release with a cap):
- Press the release button beside the housing; the old cartridge slides partway out.
- Pull the cartridge free and twist off the reusable cap — the cap belongs to the fridge, not the filter, and gets transferred.
- Fit the cap onto the new EDR3RXD1, slide the cartridge into the housing and push until it clicks.
- Flush and reset (below).
Filter 4 (the UKF8001 cartridge):
- Turn or release the old cartridge from its grille or interior housing per your model’s motion.
- Seat the new EDR4RXD1 fully — a partial seat is the usual cause of slow flow afterwards.
- Flush and reset. Our dedicated EDR4RXD1 / UKF8001 change guide walks this cartridge in full detail.
Upper-Right Push-Button (Filter 2)
Filter 2 lives inside the fresh food compartment, in the upper-right corner, behind a small cover or out in the open depending on the model.
- Press the eject/release button or lift the cover; the old cartridge pops partway out.
- Pull it straight out — a few drops of water are normal.
- Remove the protective cap from the new EDR2RXD1, align it with the housing, push firmly and turn clockwise until it clicks into place.
- Flush and reset (below).
Interior Twist-In (Filters 1 and 5)
Filter 1 is an internal twist-in cartridge, and its product page describes the change plainly: locate the filter cover (usually at the bottom or the top right of the compartment), open the cover, pull the old filter out, insert the new EDR1RXD1 and push until it clicks — no tools required. Filter 5 follows the same twist-in pattern in its own housing.
The step owners skip is the flush. The Filter 1 page specifies it: flush about 4 gallons of water through the dispenser after the change to clear air from the lines, and discard the first batch of ice as well. Four gallons sounds like a lot until you remember it is the difference between clean-tasting water on day one and a week of sputtering and carbon taste. Our step-by-step how to replace the EDR1RXD1 covers this cartridge start to finish.
Twist-and-Lock (Filter A)
Filter A sits in an interior twist-and-lock housing. The motion is: twist the old cartridge to release it, pull it out, insert the new one and twist until it locks firmly. One caution that matters here: Filter A is its own shape and is not interchangeable with Filter 1 or Filter 5 — if your old cartridge is labelled Filter A, only Filter A goes back in.
Resetting the Indicator
A new cartridge never resets the light by itself — the indicator is a timer on the control panel, and it has to be told. The exact method varies by panel style, and your model’s manual is the final authority, but the commonly documented patterns are:
- Panels with a dedicated Filter Reset (or Filter Status) button: press and hold it for about 3 seconds until the indicator returns to green/blue or the status resets.
- Touch-screen panels: open the settings or filter-status screen and follow the on-screen reset prompt.
- Panels with no reset button: some models reset through a button combination described only in the manual — check the manual rather than experimenting, because random combinations can change other settings.
Do the reset after the flush, as the last step of the change, so the timer starts from a genuinely new, flushed cartridge.
Troubleshooting
| Problem after the change | Likely cause | Fix |
|---|---|---|
| Water tastes like carbon or new filter | Flush was skipped or too short | Flush more — about 4 gallons on Filter 1; discard the first ice batch |
| Slow flow or sputtering | Air still in the lines, or cartridge not fully seated | Keep flushing until the stream runs steady; re-seat the cartridge until it clicks/locks |
| Drips at the housing | Cartridge not fully locked, or the old O-ring stayed behind | Remove, check the housing for the old seal, reinsert firmly |
| Indicator still lit | Reset step not done (or done before the change) | Repeat the reset for your panel style; confirm per the manual |
| New cartridge will not fit | Wrong EveryDrop number — the numbers are different shapes | Compare the label on the old cartridge; do not force it |
What the Cartridge Costs
Every genuine EveryDrop cartridge in this guide — Filters 1, 2, 3, 4, 5 and A — is $39.99 one-time at Discounted Filter Store, with free US shipping on any order size (Filter 1, for example, runs $39.99–$147.99 across its 1- to 4-packs). The official EveryDrop store charges $59.99 for the same cartridge one-time, or $48 only with a subscription; Filters Fast ships free only at $99+ and Discount Filter at $70+. Orders here are processed within 1–2 business days and delivered in 3–5 business days via USPS, and unopened filters return within 30 days, free, with a prepaid label.
Frequently Asked Questions
Do I need to turn off the water to change a Whirlpool filter? No. EveryDrop cartridges are designed for a tool-free change with the water on — the housing seals as the old cartridge comes out. Expect a few drops; a small towel is all the preparation you need.
How much water should I flush after changing a Whirlpool filter? It varies a little by cartridge: the Filter 1 product page specifies about 4 gallons. For the others, flush until the stream runs clear and steady — a few minutes at the dispenser — and discard the first batch of ice.
Why is my water slow or sputtering after the change? Almost always trapped air, which the flush clears, or a cartridge that is not fully seated. Re-seat it until it clicks or locks, then keep flushing until the stream steadies.
How do I reset the Whirlpool filter light? Manually — it never resets itself. Most panels with a Filter Reset button want a press-and-hold of about 3 seconds; touch panels reset through the filter-status screen; and your model’s manual is the final authority for its exact method.
My new filter will not fit. What went wrong? Probably the number. EveryDrop Filters 1–5 and A are different shapes for different housings and are not interchangeable. Read the label on the cartridge you removed and order its twin — unopened filters return free within 30 days here.
How often does a Whirlpool filter need changing? About every 6 months — Filter 1, for example, is rated 6 months and 200 gallons on its product page, and the rest of the range runs on the same cycle. Change sooner if flow slows or taste returns.